Introduction
As part of Azure AZ-204 certification, this post will cover Provision virtual machines using the Azure portal that are part of Implement IaaS solutions.
This module's topics are part of implementing IaaS solutions and I will cover "Provision Virtual Machine".
What is infrastructure as a service (IaaS)?
This is the foundational category of cloud computing services. With IaaS, you rent IT infrastructure—servers and virtual machines (VMs), storage, networks, and operating systems. You can use cloud providers such as Microsoft Azure on a pay-as-you-go basis.
What is Virtual Machine VM ?
A virtual machine, commonly shortened to just VM, is no different than any other physical computer like a laptop, smartphone, or server.
It has a CPU, memory, disks to store your files, and can connect to the internet if needed. While the parts that make up your computer (called hardware) are physical and tangible.
VMs are often thought of as virtual computers or software-defined computers within physical servers, existing only as code.
Virtual Machines used for the following
Building and deploying apps to the cloud
Trying out a new operating system (OS), including beta releases.
Backing up your existing OS
Spinning up a new environment to make it simpler and quicker for developers to run dev-test scenarios.
Accessing virus-infected data or running an old application by installing an older OS.
Running software or apps on operating systems that they weren't originally intended for.
From Microsoft
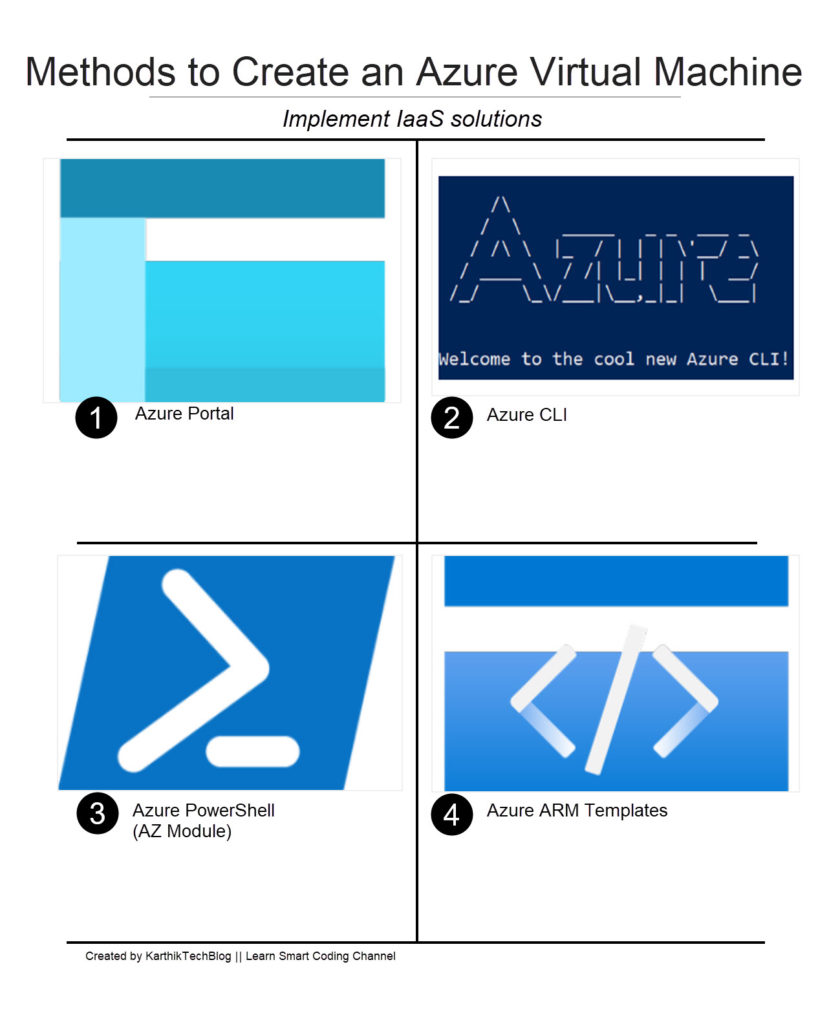
Methods of Provision virtual machines VM.
Four ways you could create VM, Azure Portal, Azure CLI, Azure PowerShell, and Azure ARM Templates.
Video tutorial
Create Windows virtual machines in Azure
Azure VMs are an on-demand scalable cloud-computing resource. You can start and stop virtual machines anytime, and manage them from the Azure portal or with the Azure CLI.
You can also use a Remote Desktop Protocol (RDP) client to connect directly to the Windows desktop user interface (UI) and use the VM as if you were signed in to a local Windows computer.
Steps
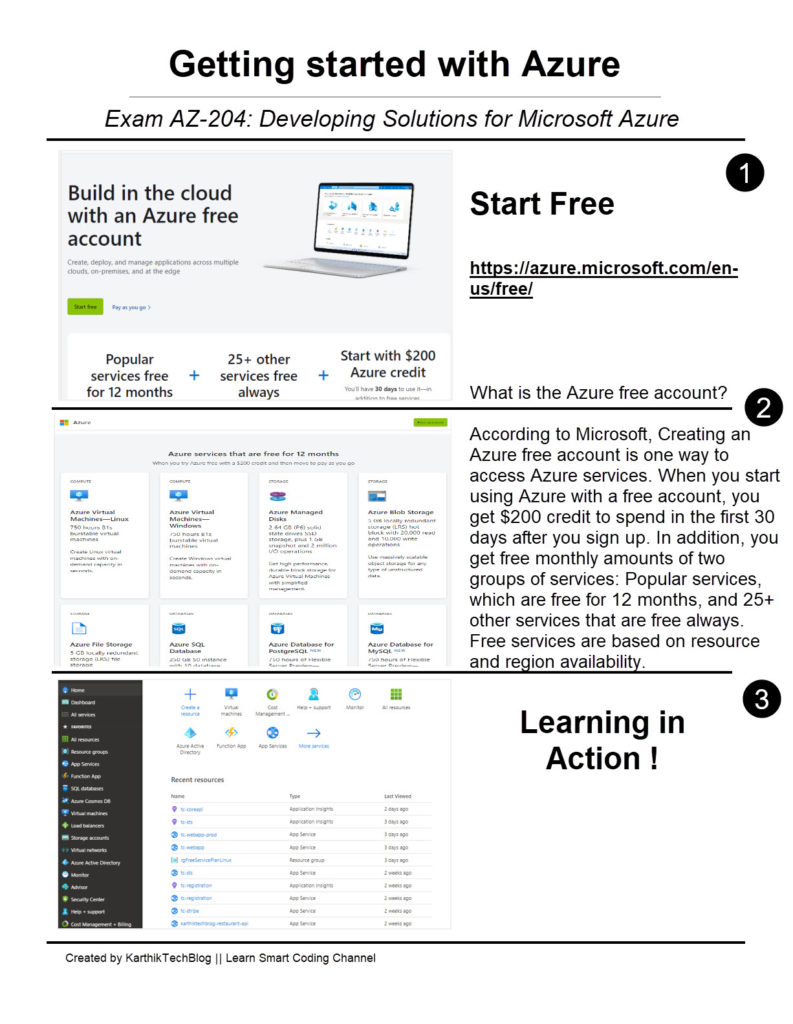
Sign in to the Azure portal. If you do not have an account, don't worry it is free to start with. Check out below for details.
- On the Azure portal, under Azure services, select Create a resource. The Create a resource pane appears.
- In search services search box, search for "virtual" as you will see "Virtual machine", click on it.
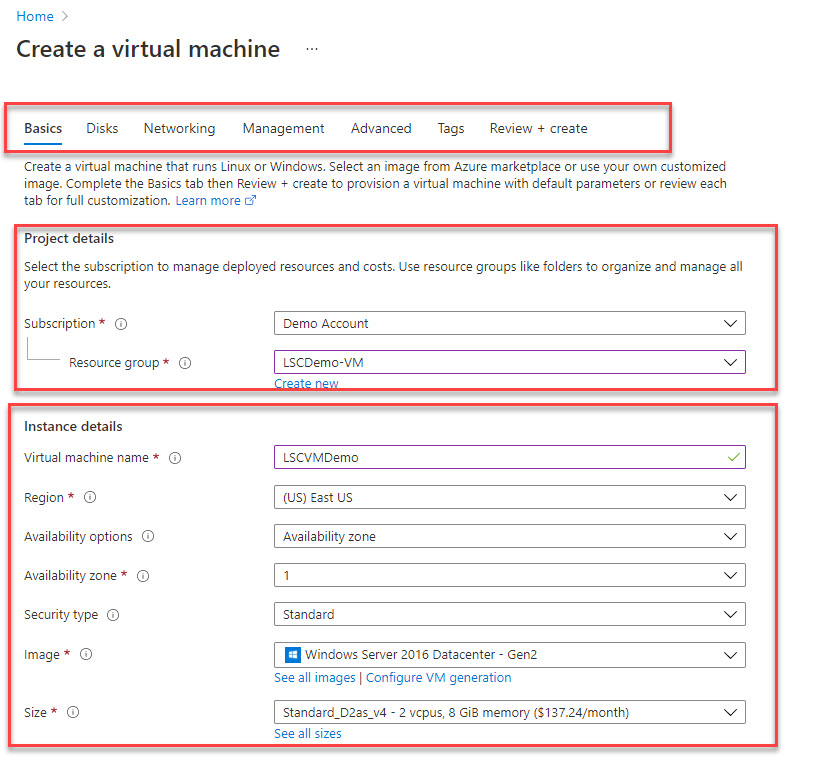
- In the Basics tab, under Project details, make sure the correct subscription is selected and then choose to Create new resource group.
- Choose an existing resource group or create a new one. I have named my new resource group as "LSCDemo-VM".
- Fill up the instance details as per the screenshot below. Here we have named "LSCVMDemo" as VM name and selected the region for our VM deployment.
- pick up an image from the drop down, I picked "windows server 2016 datacenter" with standard power for this demo.
- Chose a size of the VM as per the need.
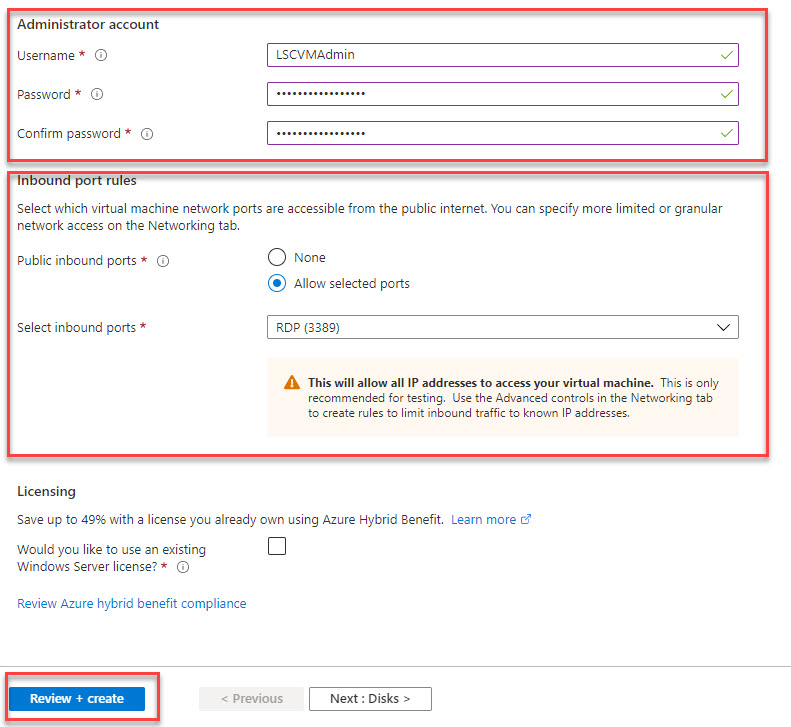
- Provide Administarator account details like username and password.
- Under Inbound port rules, choose Allow selected ports and then select RDP (3389) and HTTP (80) from the drop-down.
- Leave the remaining defaults and then select the Review + create button at the bottom of the page.
- After validation runs, select the Create button at the bottom of the page.
- After deployment is complete, select Go to resource. Here you can see all the details of the newly created VM.
Deployment of VM completed.
Connect to virtual machine
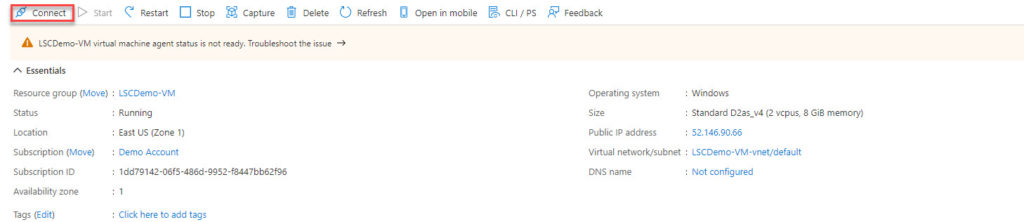
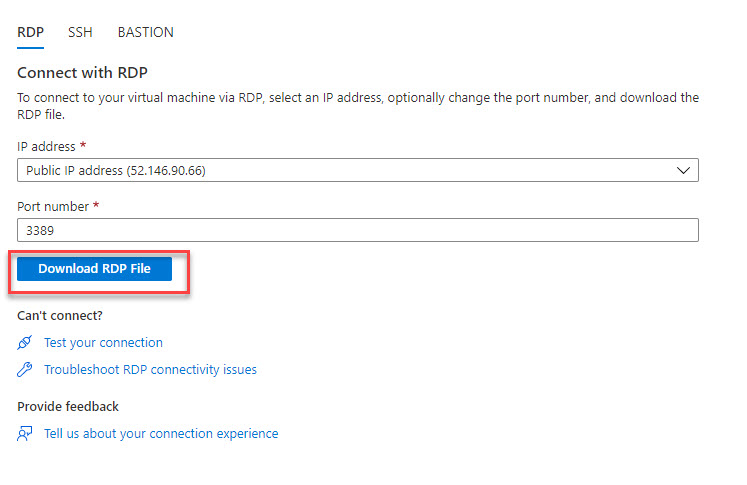
On the resource dashboard page, all the details of the virtual machine appear. select the Connect button then select RDP
Click on download RDP and open it. Depending on your machine be it MAC or Windows, the appropriate RDP file will be downloaded,
Log into VM using username and password.
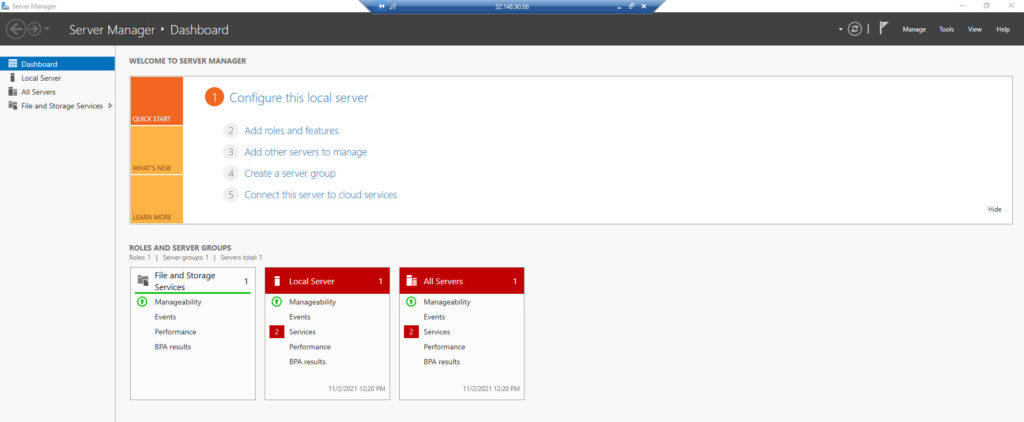
Installation of web server in VM
Open a PowerShell prompt on the VM and run the following command:
Install-WindowsFeature -name Web-Server -IncludeManagementTools
To open PowerShell in windows, click on the start or run command, type "Powershell". This will open the PowerShell window.
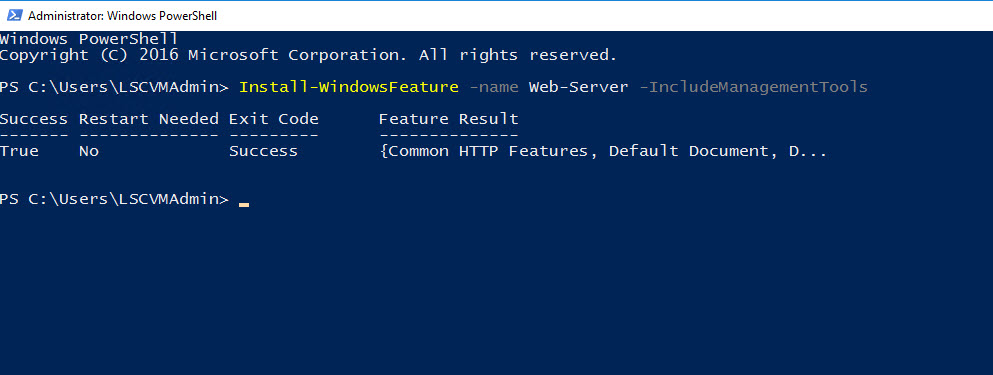
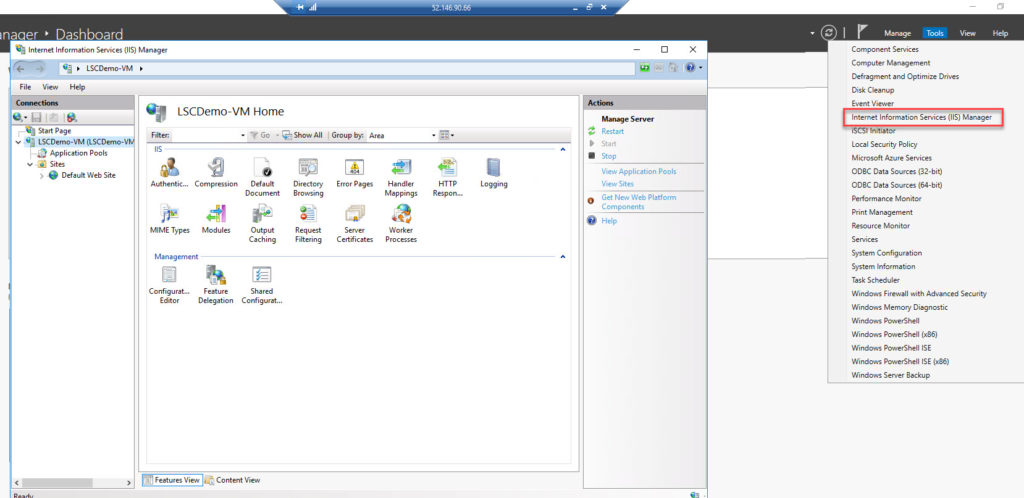
The webserver is now installed. To open Internet Information Service (IIS), go to Tools => Internet Information Service (IIS).
Now, we can deploy the applications to IIS.
Clean up resource
Now the Demo is complete for creating a virtual machine. It is time to clean up the resources we used.
When no longer needed, you can delete the resource group, virtual machine, and all related resources.
Go to the resource group for the virtual machine, then select Delete resource group. Confirm the name of the resource group to finish deleting the resources.
Related resources
- provision virtual machines (VMs)
- configure, validate, and deploy ARM templates
- configure container images for solutions
- publish an image to the Azure Container Registry
- run containers by using Azure Container Instance
Resources
1. MSDN: Quickstart: Create a Windows virtual machine in the Azure portal
2. AZ-204 Developing Solutions for Microsoft Azure
Conclusion
In this post, I have covered the topic of the Provision of virtual machines using the Azure portal that is part of implementing IaaS solutions. Other parts of this exam are covered in other posts. Happy learning!.